I am a big fan of Primitive Betty's blog. A few weeks ago I saw that she had been given a needlebook by Ginger of
http://primitivesbythelightofthemoon.blogspot.com. It was an adorable rug punched sheep on the front and equally sweet lettering that spelled W o o l and a cute heart on back. I don't know Ginger but I wrote her on her blog and asked her if there was a pattern for this needlebook she could direct me to or I could buy from her. Very kindly she wrote back right away and not only told me that the design is from a Frank Bielec class but she had written him permission to send me the pattern on email and so she did.

My first attempt at rug punch. I used an Oxford punch needle #10 1/4". It looked very intimidating at first but once I got the fabric taut on the frame it was pretty easy going. I changed some of the yarn from what I saw online originally. The sheep was punched with a sweet fuzzy acrylic/wool blend I got at Joann Fabric. The rest was 100% wool in various thicknesses. Finding a consistency with the spacing of the punches that jived well with the weight of the yarn took a bit of frogging but I'm happy with the end result. The blue sky really pops and the sheep is super fuzzy!
Front cover of needlebook on the reverse. This is the side that you punch-- the loops are on the reverse, just like with miniature needle punch. This was punched on monks cloth I got in bulk when I had a discount from working at a quilt shop several years ago.
This is the back of the piece. Test strip is on the right! The heart was not on the original pattern but was on Ginger's and I loved that so much I put it on mine, too.
Reverse of back side. The letters were punched in each hole to make them stand out more. I think I should have used a thicker wool yarn for the letters, too, but oh well. Learning curve!
And then there was nothing to finish but the finishing so of course it sat around for a few weeks before I tackled it. Again I have to thank Ginger for her spectacular tutorial on her blog of how to finish a hooked rug because I used the principles she documented for this piece and it was so easy! First, cut the monks cloth to a half an inch the whole way around the piece. Then get some thread (I used heavy duty Coats and Clark), fold the cloth over and make a running stitch around it. The ends were folded in like when finishing a big rug.
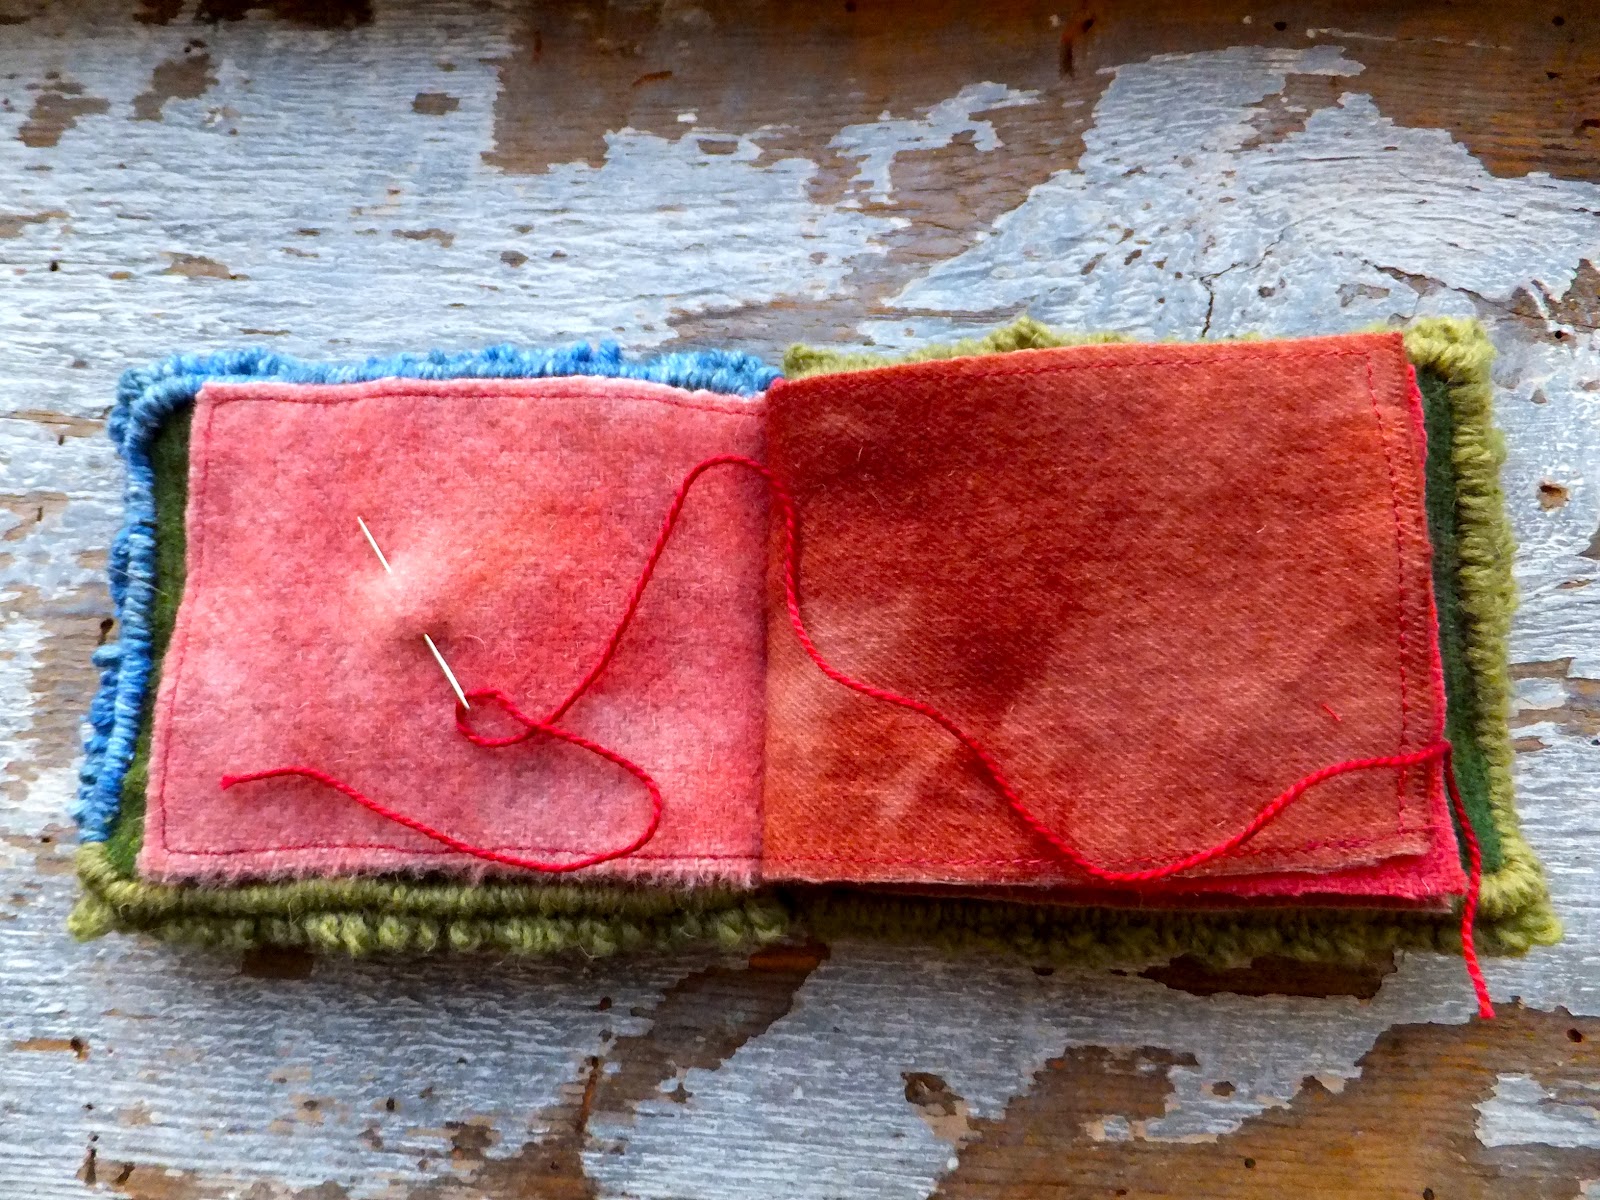
The Virginia Rugfest was this past weekend in Mechanicsville, VA and I had the pleasure of stocking up on Rebecca Erb's delicious wool, as well as Norma Batastini. This was from Norma's booth and I used it as a cover for the insides of the front and back of the book.
Using the same wool yarn as on the back cover of the book, whip stitch around the entire perimeter of the book, piercing the wool on one side and up to the stitch line on the other side to cover the exposed monks cloth.
All whipped and ready to go! Hmmm... now what??
Well, I didn't document it but what I need is a book that holds a big variety of needles. So I wanted a thick book and used three pieces of wool in various shades of red, rose and terra cotta, cut them slightly smaller than the length/width of the book, machine sewed each piece of wool around the edges to keep it from fraying and then sewed it down the middle of the middle. Then I whip stitched the front cover to the back cover with red yarn, same as from the heart (just in the middle, though, so the book would lay flat). Then hand sewed a few stitches in the divided middle of the layers of wool, just enough for it to be still flexible, and buried the thread in the whipped wool. WHEW! Seriously, it seemed like this project took F O R E V E R but it was great to learn something new, experiment with fibers, and it was really super fun to make! The finished book is about 5.5"x 4.5" and is piled 2" high without needles in it.
Rug punch and wool sandwich!
Needs more needles!!


Hooray you did it and it looks so wonderful. Love how you made it such a thick "sandwich"...so glad you stuck with it and got it made!
ReplyDeleteWhat a cute finish!!!!!! I love it!!
ReplyDelete